TinyMFA: Multifactor Authentication for IdentityIQ
Introduction
IdentityIQ 7.2 introduced a new functionality for multifactor authentication. To leverage this functionality without having the need of owning a RSA- or DUO account, the TinyMFA Plugin was created.
This plugin implements the RFC for TOTP based tokens, so (in theory) it is compatible with any app that can register QR-Codes and calculate TOTP tokens (tested with google-authenticator, DUO mobile and FreeOTP). To maximize security, each user gets a unique 128bit key assigned that will be used to calculate the token.
Also, it ships with a MFA configuration, a DynamicScope and assignable Capabilities to grant users access to their personalized token (via QR-Code) as well as forcing users to authenticate with a token.
Installation
Pre-requisites
This plugin makes usage of the new multifactor features introduces with IdentityIQ 7.2. Therefore, its usage is limited to this version (or its successors).
Installation
As an administrator, go to the plugin administration page. Click on the “new” button on the topright corner of the administration page. Drag & Drop the tiny-mfa-plugin.zip on the page.
This concludes the installation.
Post-Installation
Plugin Settings
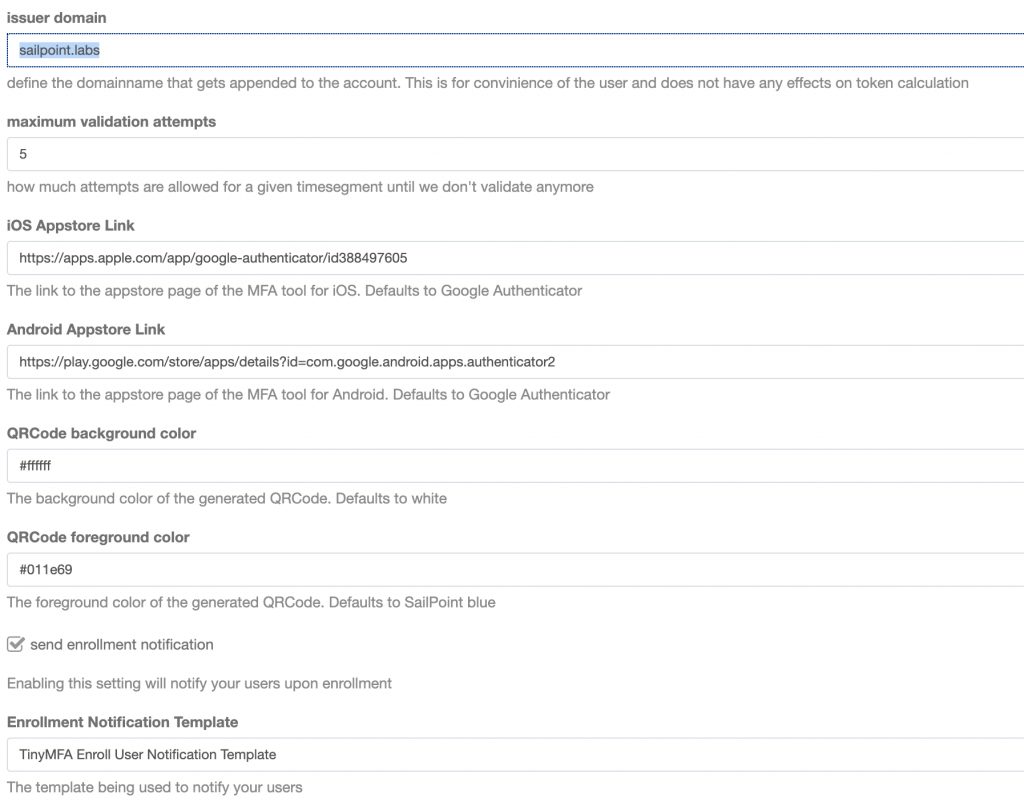
Figure 1: Plugin Settings
There are several
settings on the Plugin Settings page that can be changed according to your
needs.
Issuer Domain
This will define how the authenticator app will present your account. The format will be %identity.getName()%@%issuerDomain%
Example: spadmin@sailpoint.labs
Defaults to sailpoint.lab
Maximum validation attempts
How many validation-attempts per 30 seconds to accept until we don’t allow this certain token to authenticate. This will defeat brute-force attacks. Defaults to 15
iOS Appstore Link
The link to a totp authentication app in the Apple Appstore. Default points to Google Authenticator.
Android Appstore Link
The link to a totp authentication app in the Google Play Store. Default points to Google Authenticator.
QRCode background color
The color of the background color of the QRCode that is generated. Defaults to white
QRCode foreground color
The color of the foreground color of the QRCode that is generated. Defaults to SailPoint blue.
Send enrollment notification
If this is checked, a mail is sent out upon user enrollment.
Enrollment notification template
The template to use when notifying users
Assigning Capabilities
After installing the plugin, a new Capability “TinyMFA Plugin Access” is introduced. This grants access to the plugin page, where you can see your personalized QR Code as well as checking whether your authenticator was registered successfully.
Another Capability “TinyMFA activated Identity” can be assigned that results in every user having this capability assigned being part of the Dynamic Scope “TinyMFA Authenticated”.
Also, each identity having this capability assigned are forced to authenticate via a multifactor token.
Finally, the Capability “TinyMFA Administrator” grants access to a simple admin page, allowing the administrator to review login attempts and disable/enable accounts.
Administrative Setup
To review the changes made to the login Login Configuration, go to Global Settings –> Login Configuration –> MFA Configuration
You should find an activated Configuration “MFA TinyMFA” with a Population “TinyMFA Authenticated”.
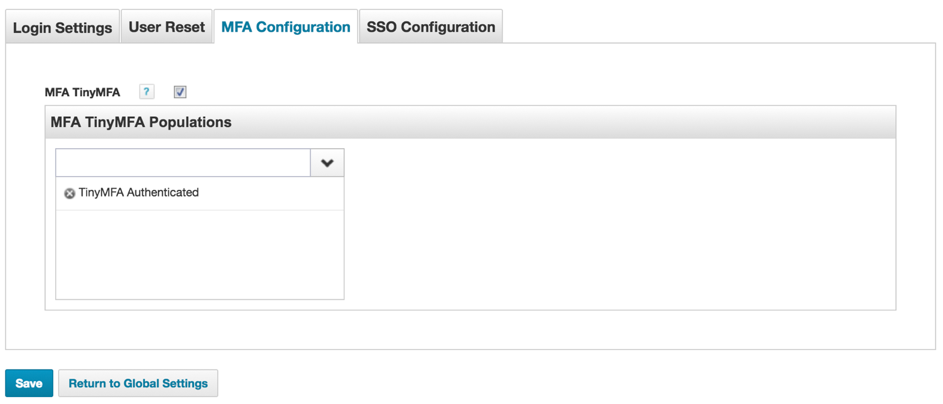
Figure 2: Login Configuration
Usage
Once entitled to plugin usage, you will find a new icon resembling a mobile phone on your menubar.
By clicking on this icon, you will be transferred to the TinyMFA Plugin page, where you will have several options:
- Generate a QR-Code
- Test your token
- Activate your token
- Optional:
If you are an administrator, you will see two further options:
- Account Administration
- Audit
Generate QR-Code
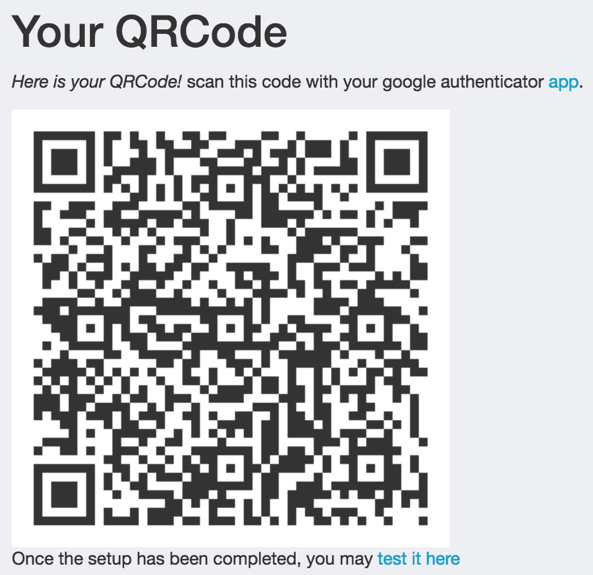
Figure 3: Generated QR-Code
A QR-Code
is generated for your identity that contains all information needed by a
multifactor app like google authenticator or DUO mobile.
Test your token
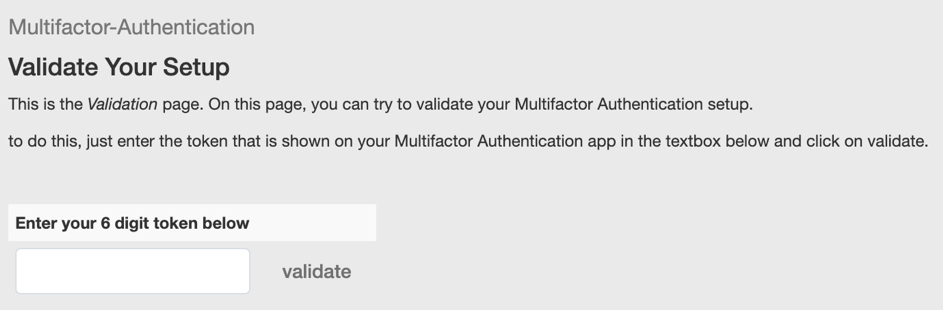
Figure 4: Test token
On this page, you can test your token generator. Enter the token that your device/app generated and click on validate. You will receive either success- or errormessage depending on the outcome.
Activate your token
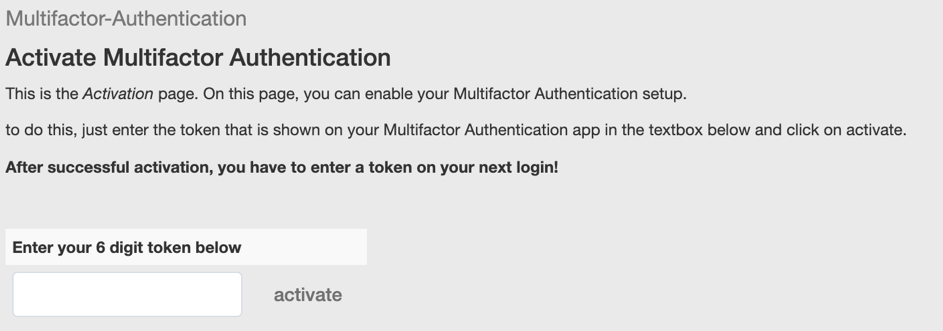
Figure 5: Activate token
On this page, you can activate your token generator. Enter the token that your device/app generated and click on activate. You will receive either success- or errormessage depending on the outcome.
After successful activation, you have to enter a token on your next login!
Account Administration
The account administration page offers you Enrollment and Management functions.
User Enrollment
Enter the identity name in the search field and click on search. If an identity can be found, it will present several basic information like firstname, lastname and email address.
For an ordinary enrollment, just click on “enroll”.
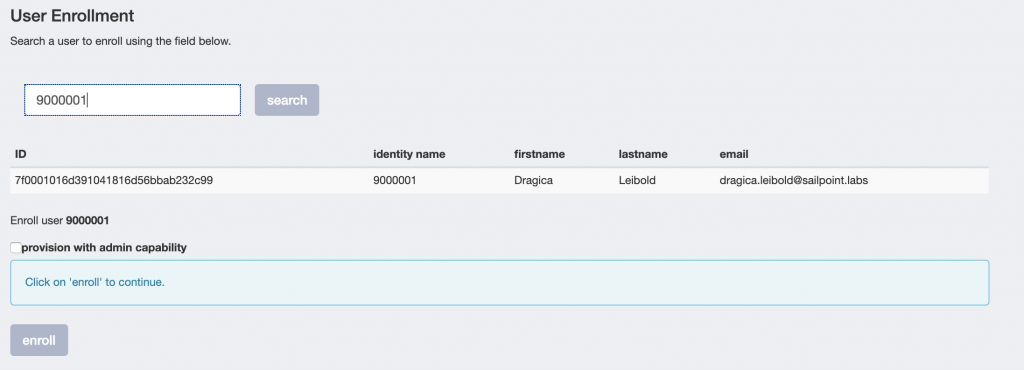
Figure 6: User Enrollment with standard capability
If you want to enroll the account with administrative access, click on the checkbox “provision with admin capability”.
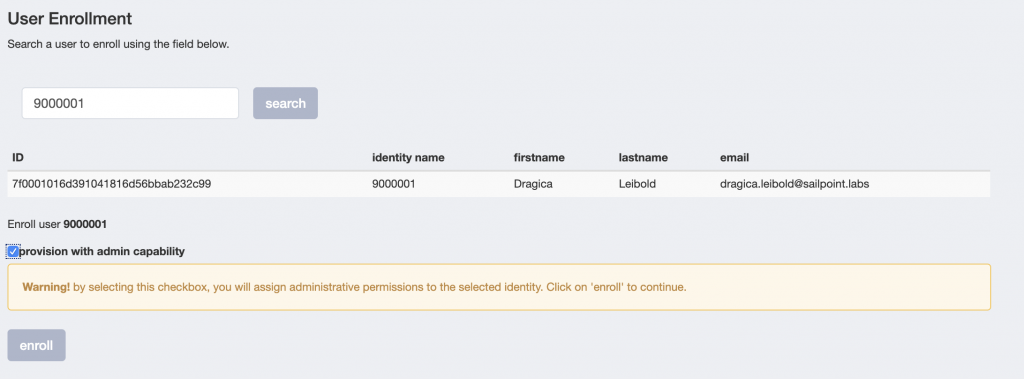
Figure 7: User Enrollment with admin capability
User Management
The User Management functionality lets you disable or enable an enrolled account.
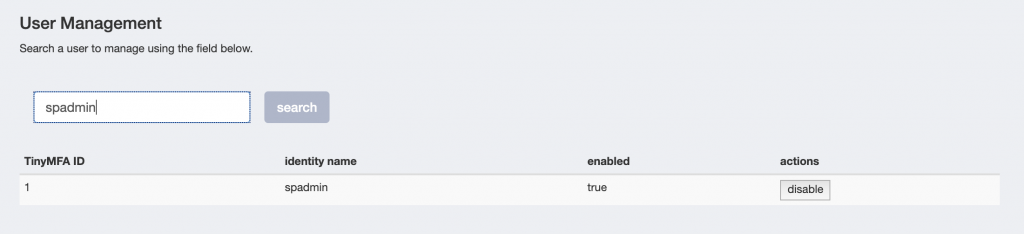
Figure 8: User management
Audit
The Audit page offers a quick and convenient way to have a look at the latest authentication results.
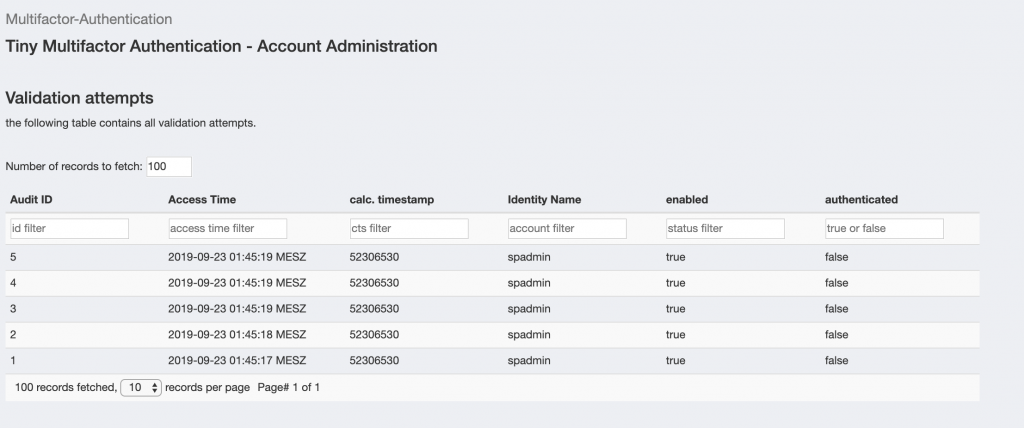
Figure 9: Audit Table
Plugin Uninstall Instructions
After uninstalling the plugin via the plugin administration page, there are several leftovers that need to be uninstalled manually. You can do this via the debug pages.
- SPRight: TinyMfaPluginIcon
- SPRight: TinyMfaPluginActivatedIdentity
- SPRight: TinyMfaPluginAdministrator
- Capability: TinyMFAActivatedIdentity
- Capability: TinyMFAPluginAccess
- Capability: TinyMFAAdministrator
- DynamicScope: TinyMFA Authenticated
- Form: TinyMFA Token Form
- Workflow: TinyMFA Authentication Workflow
- Workflow: TinyMFA Enroll User Workflow
- EmailTemplate: TinyMFA Enroll User Notification Template
- Configuration: MFAConfiguration